Maybe you've never thought of your "stuff" as inventory, but I do.
As a home stager and stylist, I'm in an out of people's homes all the time.
In trying to achieve their goals in their spaces, I'm always peeking around
to see what they have to work with in their home already.
That's a great way to save money, for sure.
It's also a way to see just how creative you can be,
and how you can keep your collected, personal things in play in your decor.
So, once again, I'll start with my own home and give you some visuals.
 |
| Photography: Crystal K. Martel |
My family and I just went through a move.
Of course, I had a ball doing all the staging in my old house.
It gave me a great excuse to move the furniture around and re-envision all my spaces.
So, above was a basement room that really needed to be highlighted as a bedroom.
"Hmmmm...bedroom," I thought to myself. "What do I have? What do I have?"
A metal bedframe and mattress set say bedroom, right? Yep.
A couple of mismatched tables, a pair of lamps and a spare chair
filled the room out nicely.
We moved the rug from the dining room to this room to warm it up a bit.
That worked nicely, too.
But what about a centerpiece, a focal point?
Well, a brave search and rescue mission to the garage turned up this broken,
cracked and peeling folding screen, perfect for a headboard.
Secured to the wall with simple wall anchors and screws, and wow.
Centerpiece. Yahoo for free stuff from the garage. Yes!
 |
| Photography: Crystal K. Martel |
In the master bedroom, we had this funny little wall that jutted out.
It needed some softening and a purpose of some sort.
So, a little demi-lune table from another room
covered in a silky (well, ok, polyester) drapery panel
and an old table topper created an inviting spot to prop an
oversized mirror and a framed art piece. The little lamp
got a coat of white spray paint, and suddenly that awkward
little area of the room was so inviting and pretty.
And no dollars spent, either. Again, Yes!
 |
| Photography: Crystal K. Martel |
Here's a fun idea, too. Lightweight resin garden urns
capped off with simple round glass tops make great bedside tables.
These urns made a trip from the front porch to the master bedroom,
serving to edit some of the front porch decor as well as stage up the bedroom quite well.
Woohoo! Free stuff.
 |
| Photography: Crystal K. Martel |
Ok, here's a little peek into my crafty side. (I know you have a crafty side, too!)
The living room coffee table was just a little dull and needed to pack
more of a punch and serve to ground the seating area.
I decided to see what I could do to make more of an ottoman out of the table.
Again, I thought to myself, "What do I have? What do I have?"
This fabric is actually another drapery panel. (I bought a few several
years ago at the Habitat Home Store in Nashville for just a few dollars apiece,
and just hadn't used them yet.) I had also picked up this bullion fringe
at a flea market for cheap. It all worked well together.
It took a trip to Joann, Etc. (coupons in hand, of course!) for a fat piece of foam,
my trusty glue and staple guns, and about an hour.
Voila...upcycled inventory = ottoman.

Fast forward a few months to a brand new city and a new house,
and here are a few recent decor victories on the cheap.
In my living room sitting area, I needed a coffee table again.
I had used every table in the house, extracted every treasure available from the garage,
and was stuck with just one last random table. I was determined not to buy anything.
So this table was the one. Now to make it work.
Not the right look at all, not the right size really, but
when I threw an old cowhide over it, suddenly it had this wonderful,
beefed up scale and worked perfectly.
Out of inventory? Not on my watch!

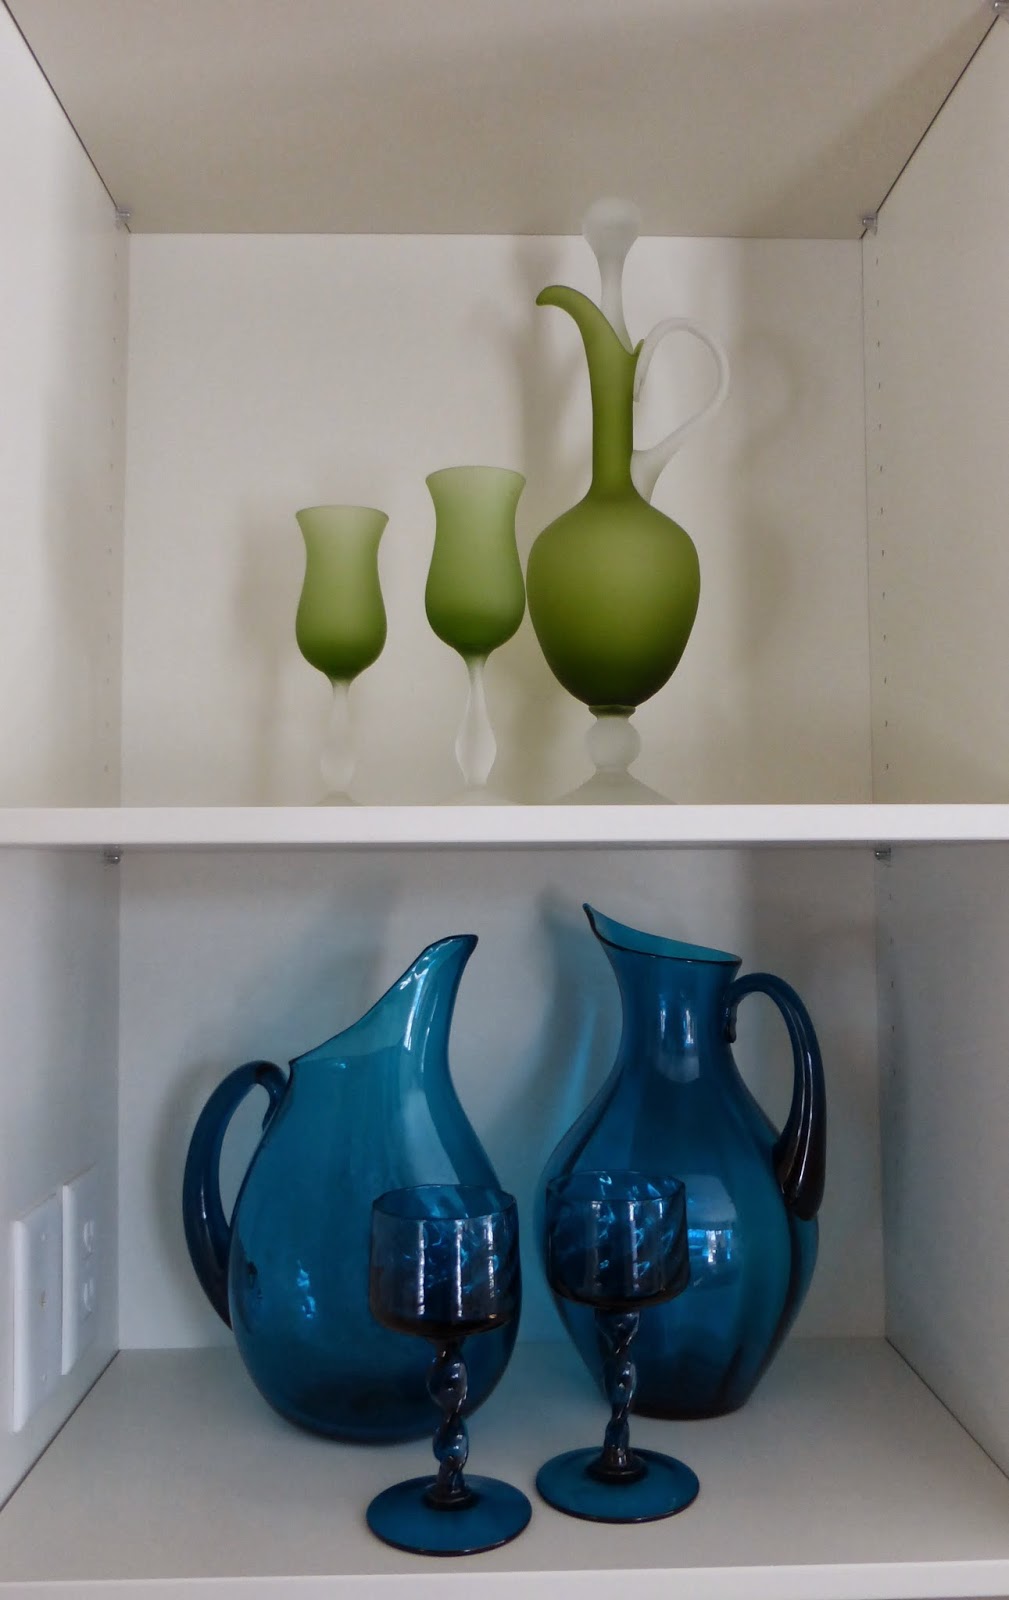
This new house has a couple of great built-in glass front cabinets in the dining area.
This kind of display opportunity can be overwhelming to some people.
However, when you put on your thinking cap,
and rummage through what you have, you may find, like I did,
that you have things in your inventory that are alike or complementary.
They don't even have to fit the function of the room.
They just need to be cohesive and work with the color scheme.
For me, this display was all about my colored glassware.
I didn't pay much for any of these little collections.
I've been gathering them for years at garage sales, estate sales,
and the occasional Goodwill store.
They've been cooped up behind cabinet doors for a long time,
but now have a place to shine. I love it!
Again, with the glassware, right?
But here's the point...use what you have, what you love.
Dive into those cabinets, closets (and most definitely the garage),
and see what's there.
I'm willing to bet you have more inventory than you realize.
Here are a couple of ideas to get your awaiting inventory up and on its feet...
* Walk through your house, noticing the colors in every room.
Are there pieces that would work well in another room?
Are there pieces that could be gathered together from different rooms to
create a new look or highlight a new color?
* Get some of those wonderful furniture glides from Home Depot
and move some pieces around. Be brave. Be crazy. Think outside the box.
You can always move it back, right?
* If you don't want to move any furniture right away, and you're not afraid
of a little measuring and hammering, try this...take down everything
you have hanging on the walls. Prop it all up in your biggest room so you can
stand back and get a good look at your wall decor inventory.
Then, hang things in different places, in different collections.
Without moving any furniture at all, you might just turn your decor right on its head.
And you might just love it!
* Have a friend over for some fresh perspective of your spaces, and then return the favor.
Maybe the two of you find that you could swap some pieces between you
and get a fresh pop in each of your spaces! Sounds fun to me!
So, you know what to do.
Go! (and send me pictures!)
- Amy


